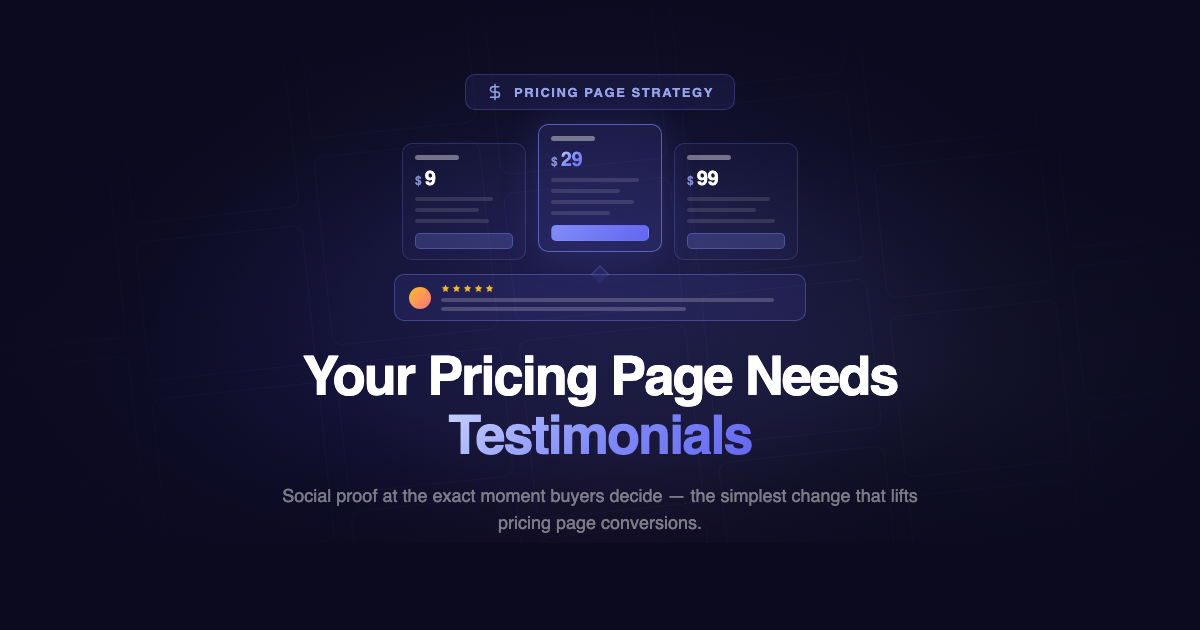
Why Your Pricing Page Needs Customer Testimonials (And How to Add Them)
Your pricing page is the most important page on your website for conversions. It’s where visitors go to decide if they’ll pay. And on most SaaS sites, it’s completely empty of social proof.
The landing page has testimonials. The homepage has customer logos. But the pricing page — where buying anxiety peaks and decisions are made — shows nothing but plan names, feature lists, and a checkout button.
This is a missed opportunity.
Why Pricing Pages Need Social Proof
Price Anxiety Is Real
The moment a visitor sees your pricing, a specific set of objections fires:
- “Is this worth $29 a month?”
- “What if it doesn’t work for my use case?”
- “Am I going to regret this?”
- “What are other people paying for this kind of tool?”
These aren’t intellectual objections. They’re emotional. And they’re happening at the exact moment the visitor is closest to converting. Social proof addresses emotional objections in a way that feature lists and FAQ sections can’t.
The Trust Gap at Checkout
By the time someone reaches your pricing page, they’ve already read your landing page. They know what the product does. They might even be convinced it’s good. The remaining question isn’t “is this product good?” — it’s “is it good enough to pay for?”
A customer on your pricing page saying “it’s worth every penny” or “we got ROI in the first week” answers that question directly from a peer’s perspective. It’s the most persuasive message at the most decisive moment.
The Data Backs It Up
Testimonials on sales pages can increase conversions by up to 34%. The impact is even higher on pricing pages specifically, because that’s where the conversion action (clicking “subscribe” or “buy”) actually happens. Social proof at the point of decision is more valuable than social proof anywhere else on the page.
What Kind of Testimonials Work on Pricing Pages
Not every testimonial belongs on your pricing page. The testimonials that convert here are ones that directly address pricing-related objections.
Value Testimonials
Customers who speak about the product’s value relative to its cost.
“We were paying $200/month for [Competitor]. Switched to [Product] for a third of the price and it does everything we need.” — Marcus L., SaaS Founder
This directly addresses “is it worth the money?” with a concrete comparison.
ROI Testimonials
Customers who describe measurable results that justify the investment.
“We collected 40 video testimonials in the first month. Our landing page conversion rate went up 28%. The tool paid for itself in week one.” — Priya K., Agency Owner
Numbers make the value tangible. “$29/month” feels abstract until someone says “it paid for itself in a week.”
Switching Testimonials
Customers who switched from a competitor and are happy they did.
“We used [Competitor] for two years. The per-workspace pricing was killing us. LoveBoard does the same thing for one flat fee. Wish we’d switched sooner.” — Jake R., E-Commerce Manager
This addresses the “what if I’m making the wrong choice?” anxiety by showing someone who made the switch and doesn’t regret it.
Simplicity Testimonials
Customers who highlight how easy the product is to use.
“I had it running on our site in 10 minutes. No developer needed. I don’t know why we waited so long.” — Sofia M., Course Creator
This counters the “what if it’s too complicated?” hesitation that often stops people at the pricing page.
Where to Place Testimonials on Your Pricing Page
Directly Below the Pricing Table
The most common and effective placement. After the visitor has absorbed the pricing options, they see 2-3 testimonials that reinforce the value. This creates a natural flow: see the price → see the proof → click subscribe.
Best format: A carousel cycling through 3-5 short testimonials. Takes minimal vertical space but delivers multiple proof points.
Between Plan Tiers
For pricing pages with 2-3 plan columns, place a testimonial strip between the plan descriptions and the FAQ section. This catches visitors who are comparing plans and haven’t committed yet.
Best format: A single powerful quote centered across the full width. Pick your strongest ROI or value testimonial.
Next to the CTA Button
Place a small testimonial or Rating Badge right next to the “Subscribe” or “Start Free Trial” button. This is the last thing visitors see before clicking.
Best format: Rating Badge showing your aggregate rating (e.g., “4.9/5 from 200+ reviews”) or a one-line quote.
In a Social Proof Bar
A horizontal strip above or below the pricing table showing customer logos and a metric: “Trusted by 2,000+ businesses” or “4.9/5 average rating.”
Best format: Logo bar with a review metric. Compact and powerful.
How to Add Testimonials to Your Pricing Page
Step 1: Collect the Right Testimonials
Not all testimonials in your collection will work for the pricing page. Look for testimonials that mention:
- Value, ROI, or the product paying for itself
- Comparisons to competitors (especially on price)
- Ease of setup or time saved
- Specific results with numbers
If you don’t have testimonials that hit these themes yet, add prompt questions to your collection form: “What would you tell someone who’s considering [Product] but isn’t sure about the price?” This steers responses toward pricing-page-relevant content.
Step 2: Choose an Embed Type
Carousel — Best for showing multiple testimonials in a compact space. Cycles through 3-5 testimonials with automatic or manual navigation. Ideal for placing directly below or alongside the pricing table.
Rating Badge — A compact widget showing your aggregate star rating and review count. Perfect for placing next to a CTA button or in a social proof bar. Takes minimal space but delivers instant credibility.
Single Testimonial — One powerful video or text testimonial as an embeddable card. Use your single strongest ROI-focused testimonial for maximum impact.
Step 3: Embed the Code
Copy the embed code — a single script tag — and paste it into your pricing page HTML. Works on any platform: WordPress, Webflow, Shopify, Next.js, static HTML.
The embed auto-updates when you approve new testimonials and add them to the widget. No code changes needed after the initial setup.
Step 4: Test and Iterate
After adding testimonials to your pricing page:
- Track conversion rates. Compare the pricing page conversion rate before and after adding social proof.
- A/B test placement. Try testimonials below the pricing table vs. next to the CTA vs. both.
- Rotate content. Swap in fresh testimonials quarterly to keep the proof current.
- Watch for scroll depth. Are visitors actually reaching the testimonials? If they’re too far down the page, move them up.
Common Mistakes
Using your weakest testimonials. The pricing page is premium real estate. Don’t put “Great product!” here. Save this space for testimonials with numbers, comparisons, and specific results.
Too many testimonials. Your pricing page isn’t a Wall of Love. 3-5 testimonials in a carousel or 1-2 single testimonials are enough. The goal is targeted reassurance, not volume.
Generic placement. Testimonials at the very bottom of a long pricing page won’t be seen. Place them near the pricing table and CTA where they’ll actually influence the decision.
No video. If you have video testimonials about value or ROI, use them on the pricing page. A customer on video saying “it’s worth it” is more persuasive than the same words in text.
Stale testimonials. Testimonials from 2 years ago feel dated. Keep your pricing page social proof recent.
Getting Started
You probably already have testimonials that work for your pricing page — you just haven’t placed them there. Look through your existing collection for any that mention value, ROI, switching from competitors, or ease of setup.
If you don’t have testimonials yet, start collecting today. Set up a collection form, send it to your happiest customers, and include a prompt question about the product’s value. Within a week, you’ll have pricing-page-ready social proof.
Create a Carousel or Rating Badge embed, paste it on your pricing page, and measure the impact on conversions. Most teams see a noticeable lift from this single change.
Start collecting testimonials for your pricing page — free plan, no credit card.